WordPress migration is a critical process that many users may face when they want to change their hosting provider, move to a new domain, or simply refresh their website’s infrastructure. For beginners, the word “migration” can sound daunting, but it doesn’t have to be! This guide offers a simple and comprehensive overview of the WordPress migration service, simplifying what might initially seem like a complex task.
Understanding WordPress Migration
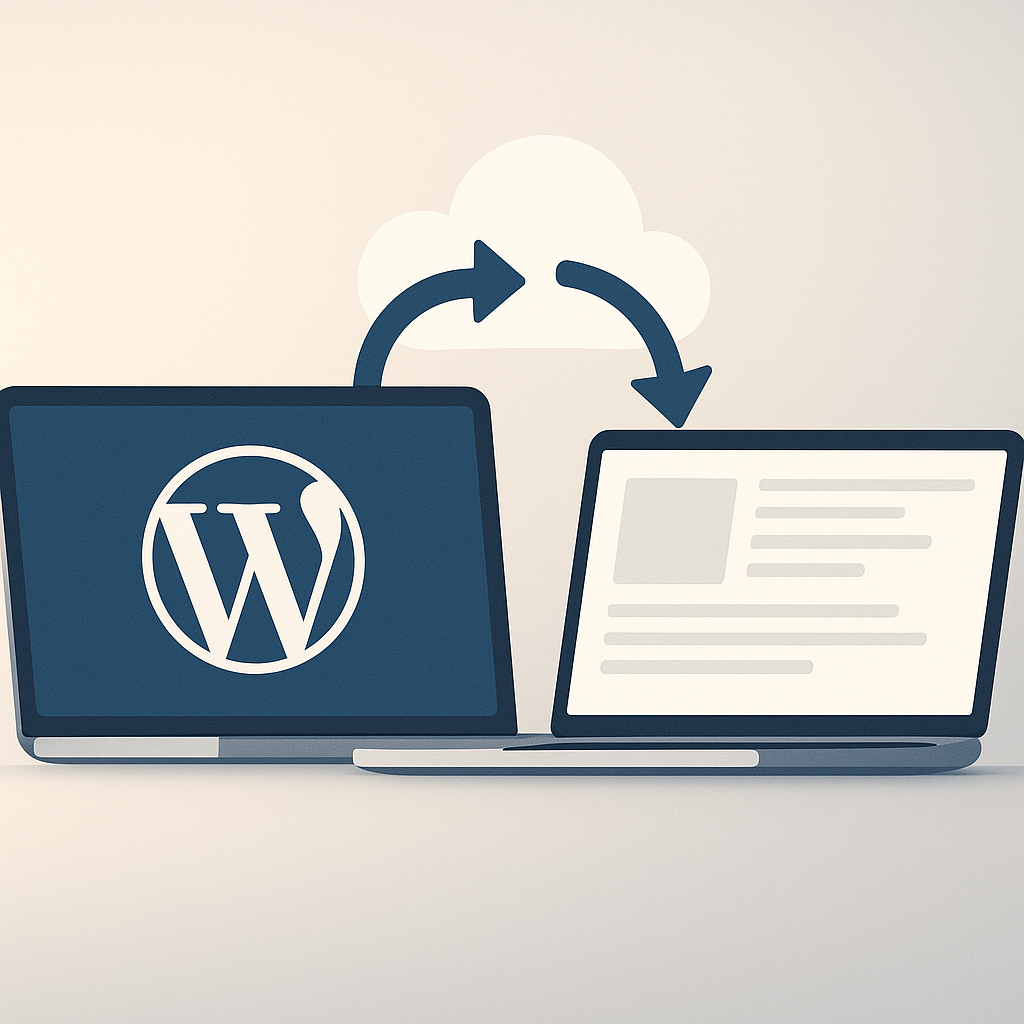
WordPress migration involves transferring your entire WordPress site from one location to another. This can mean moving your data from one web host to another or shifting your site from a local server to a live server. Regardless of the method, the goal is the same: to maintain your site’s functionality, design, and performance.
Why Migrate Your WordPress Site?
There are several reasons you may want to consider migrating your WordPress site:
- Change of Hosting Provider: You may need more resources or better customer support.
- New Domain Name: If you’re rebranding or changing your business direction, a new domain might be necessary.
- Site Cloning: You may want to create a staging site for testing purposes.
- Upgrading Infrastructure: Sometimes, you need to move to a better server setup to enhance your performance.
Types of Migration Services
When it comes to migrating your WordPress site, there are generally two approaches you can take: manual migration and using migration plugins or services.
Manual Migration
Manual migration requires more technical know-how, including accessing your server, editing files, and using FTP. Here’s a simplified step-by-step process:
- Backup Your Site: Use a WordPress backup plugin or manually back up your files and database.
- Export Your Database: Access phpMyAdmin through your hosting account and export your database.
- Download Your Files: Use FTP to download your WordPress files from your existing host.
- Upload Files to New Host: Using FTP, upload your WordPress files to the new hosting provider.
- Create a New Database: Set up a new database on your new host and import your previously exported database file.
- Edit wp-config.php: Update the wp-config.php file with your new database details.
- Update URLs: If you’ve changed your domain, ensure to update the URLs in your database using SQL queries.
- Test Your Site: Before going live, ensure everything is functioning correctly.
Using Migration Plugins
If manual migration sounds intimidating, migration plugins can simplify the process significantly. Some popular migration plugins include:
- All-in-One WP Migration: This user-friendly plugin allows you to export your entire site easily.
- UpdraftPlus: Known primarily for backups, it also offers migration options.
- Duplicator: This plugin enables you to create a package of all your site’s files and database in one go.
These plugins usually guide you through a few simple steps to clone or migrate your site without handling complex configurations.
Considerations Before Migrating
Preparing for migration involves several important steps to ensure smooth transfer and minimal downtime:
- Select the Right Hosting Provider: Ensure the new host meets your needs, particularly concerning speed and customer support.
- Check for Compatibility: If you have several plugins installed, verify they are compatible with the new host.
- Inform Your Audience: If your migration might cause downtime, consider informing your users in advance.
Common Mistakes to Avoid
Migrating a WordPress site can be straightforward, but there are common pitfalls to look out for:
- Skipping Backups: Always back up your site before starting the migration.
- Neglecting to Update URLs: Not changing URLs after a domain change can lead to broken links.
- Not Testing After Migration: Always test your site thoroughly post-migration to ensure everything works.
Best Practices for Smooth WordPress Migration
To ensure a successful migration, consider following these best practices:
- Choose Off-Peak Hours: Migrate during off-peak times to minimize the impact on visitors.
- Utilize Migration Tools: Make the process easier by using reputable migration plugins or services.
- Keep Your Site Updated: Always ensure your WordPress version and plugins are up to date prior to migrating.
Post-Migration Steps
Once you’ve completed your migration, it’s crucial to conduct a few checks:
- Check Functionality: Test all features, including forms, payment gateways, and other critical functionalities.
- Run Performance Tests: Use tools like PageSpeed Insights or Core Web Vitals to assess your site’s performance.
- Redirect URLs: If necessary, set up 301 redirects to point old URLs to the new ones.
Conclusion
WordPress migration does not have to be a challenging task. Whether you choose to do it manually or utilize a migration plugin, understanding the process and preparing adequately can set you up for success. If you feel overwhelmed, consider reaching out to professionals who specialize in WordPress services for assistance.
Frequently Asked Questions
1. How long does WordPress migration typically take?
The migration time varies based on the size of your site, your hosting environment, and the method you choose. Expect anywhere from a few minutes to several hours.
2. Will my SEO be affected after migration?
If done correctly, your SEO should remain intact. Ensure proper URL structure and 301 redirects are in place if you change domains.
3. Can I migrate my site for free?
Yes, there are free plugins available, but using paid services may offer additional features and support.
4. Do I need coding knowledge for migration?
No, with the right plugins, even beginners can migrate their sites without coding knowledge. However, basic understanding can be beneficial.